1. Cut the stump down to about 3″ to 4″ above ground level. If you can cut it lower, that’ll make your job even easier, but a maximum of 4″ is recommended.
2. Remove rocks and other debris. Make sure the area around the stump is clear of rocks, as these will dull your stump grinder teeth and can be hazardous.
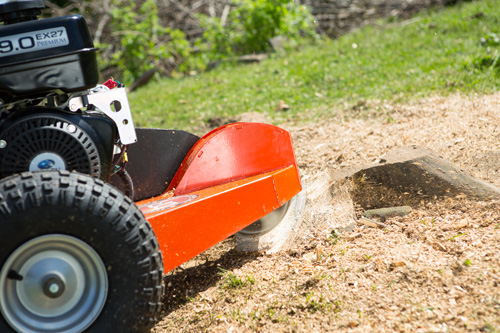
3. Start with the cutter head to the right. Turn on the engine and position the cutter head to the right of the stump, but not such that it touches the stump. It’s important that there is nothing blocking the teeth when they start to spin.
4. Lock the hand brake. On the DR, this is located on the left handlebar. The DR Stump Grinder locks just the left wheel, allowing you to pivot the machine back and forth as you grind.

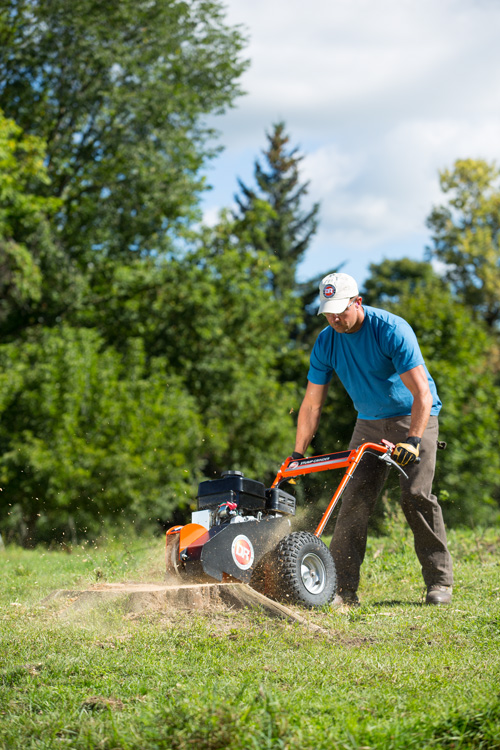
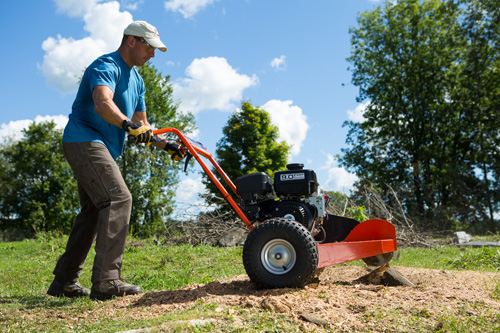
6. Start at the front top corner. Starting at the top of the stump on the right side, pivot the machine to grind away the wood from right to left. Grind away a 1/2″ to 1″ thick layer . Then, go back to the right side and sweep across the next layer down. Do this until the whole front portion of the stump is down to ground level.
7. Move forward and repeat. Release the brake, push the stump grinder forward a few inches, and repeat this process for the next portion of stump, sweeping from right to left to grind away each layer. Continue until the whole stump has been reduced to a pile of wood chips.

8. If the engine bogs down, lift the cutting head away from the stump. If you hit a knot or knuckle and find the engine bogging down, lift the cutting head away from the stump and let it come back to its full speed, then return to grinding.
9. When finished, release the throttle and wait 10 seconds for the cutter head to stop spinning. Then, release the brake and roll the machine back. You can sweep away the wood chips, or leave them to decompose on their own.
